
Boob Tape Guide for a Large Bust
A practical outfit-first guide to using purpose-made breast-support tape with a fuller bust—covering skin preparation, nipple protection, strip placement, anchoring, neckline planning, dress testing and careful removal.

The 7-step pre-tape check
- Choose the finished outfit: the neckline and back determine where tape can go.
- Read the tape instructions: wear time, patch testing and removal vary between products.
- Complete the required patch test: do this before event day.
- Check the skin: do not tape over visibly damaged, irritated or sunburned skin.
- Clean and dry the area: avoid lotion or body oil where the adhesive needs to stick.
- Protect sensitive areas: use the nipple-protection method specified for the product.
- Practice the dress movement: sit, lean and raise your arms before considering the application finished.
How boob tape works for a large bust
Breast-support tape works differently from an ordinary bra. A bra contains the bust inside cups and transfers load through a band, frame and straps. Tape adheres directly to the skin and positions breast tissue through the direction, width, overlap and number of strips used.
That distinction explains both its flexibility and its limitations. Tape can be arranged around necklines that would expose bra cups, straps or a back band, but there is no rigid underwire frame automatically determining breast position.
With a fuller bust, the solution is usually not to pull each strip harder. More useful strategies include supporting a larger area, using multiple strips, controlling the direction of each strip and allowing the garment itself to contribute structure when possible.
The final shape does not need to reproduce the exact shape of your everyday bra. The goal is to create enough positioning and stability for the particular garment while remaining comfortable and keeping the tape hidden.
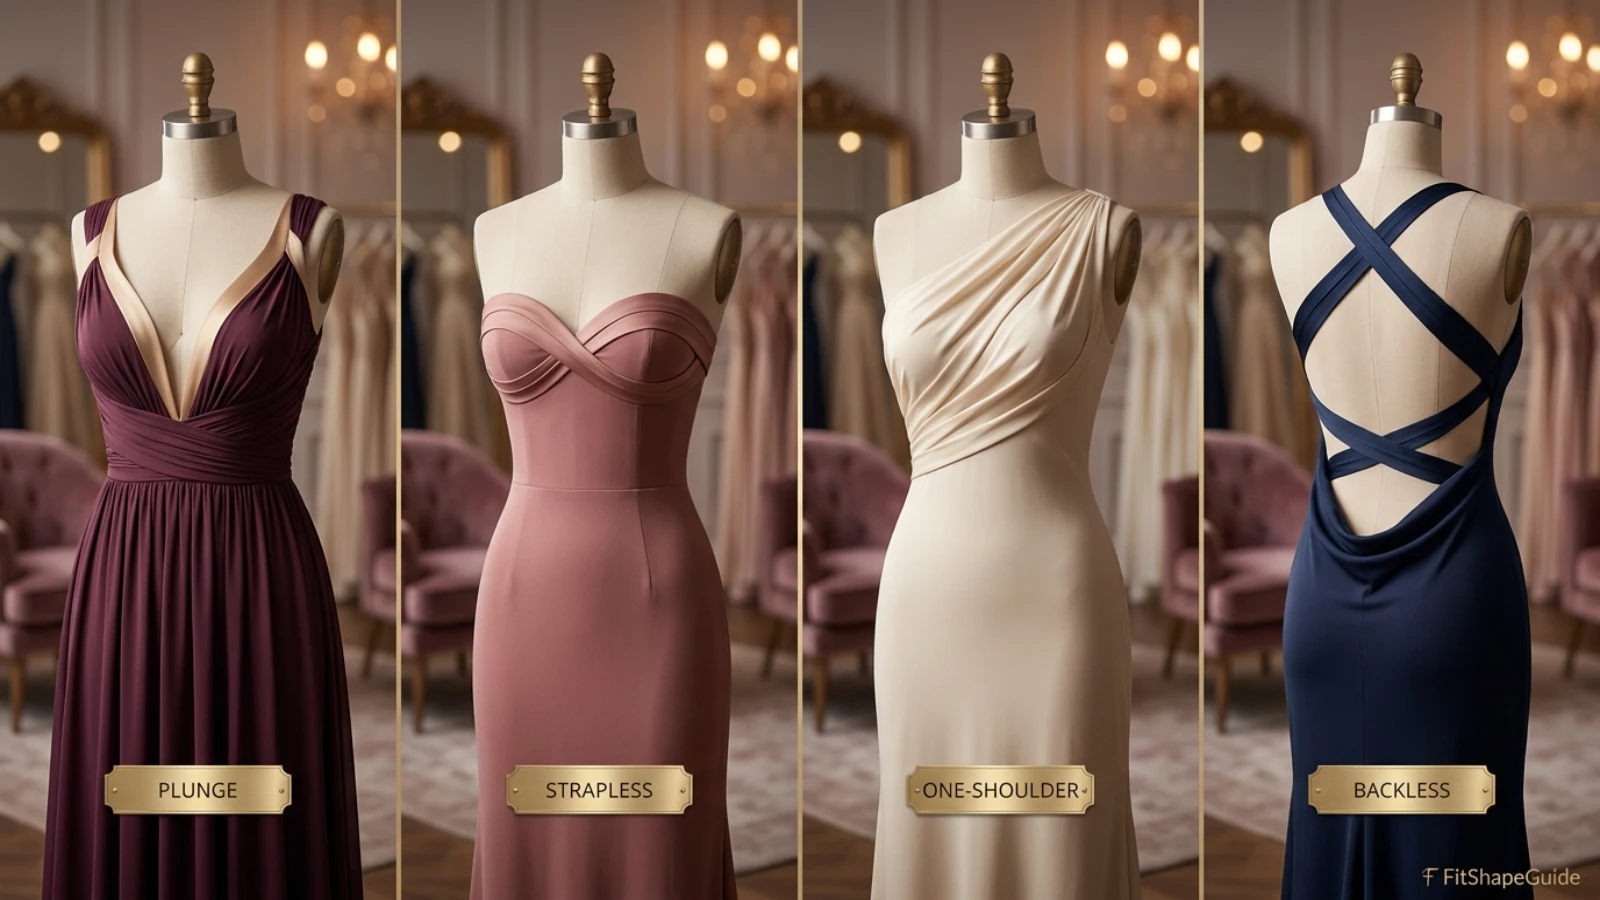
| Outfit | General tape direction | What must stay clear | Main challenge |
|---|---|---|---|
| Deep V | Upward and slightly outward/inward as garment allows | Center neckline | Keeping tape away from plunge |
| Strapless | Broad lateral + supporting lower strips | Shoulders and upper chest | Support without high anchors |
| Square neck | Vertical/diagonal inside neckline corners | Upper chest rectangle | Keeping tape below square edge |
| One shoulder | Asymmetric upward path | Bare shoulder | Uneven visible boundaries |
| Halter | Upward toward covered neck/shoulder area | Outer shoulders/back | Keeping anchors hidden |
| Backless | Front/side-to-upward paths | Entire exposed back | No rear band anchor |
| Low-side dress | Mostly front and upward | Side torso | Tape edges may show from side |
| Structured formal gown | Selective support only | Dress-specific openings | Avoiding unnecessary extra tape |
Prepare the skin before applying breast tape
Read the specific product instructions
Different tapes specify different patch-test periods, maximum wear times, application techniques and removal methods. Treat the instructions supplied with your exact product as the primary source.
Patch-test before the event
Do not discover an adhesive sensitivity on the afternoon of a wedding or gala. Complete the manufacturer’s required patch test early enough that you can choose another foundation if the skin reacts.
Start with clean, dry skin
Lotions, body oils and similar products can interfere with adhesion. Prepare the application area according to the tape manufacturer’s instructions.
Protect nipple tissue
Use appropriate opaque nipple covers or the protection method instructed by the tape maker before applying support tape across that area.
Check for skin irritation
Do not apply adhesive over visibly broken, blistered, sunburned or significantly irritated skin.
Test the outfit boundaries
Put the dress on first and note the lowest neckline point, side opening, shoulder exposure and back opening. A removable garment-safe marker on the dress—not directly on the skin—can help you understand what needs to remain invisible.
Cut strips before starting
Preparing several strips can make application calmer and reduce the temptation to hold the breast in position while trying to cut tape at the same time.
Five boob-tape principles for a fuller bust
1. Position the breast before fixing the strip
Rather than expecting the adhesive strip to drag the breast through a large distance, position the breast in the direction you want and apply tape to help hold that position.
2. Use multiple strips
A fuller bust usually creates a larger area to support. Several overlapping or adjacent strips can distribute the work more evenly than one narrow strip under extreme tension.
3. Keep end anchors controlled
The first and last portion of a strip are attachment zones. Excessive tension at these ends can concentrate pull on a small area of skin. Follow the product’s application guidance and avoid aggressively stretched anchors.
4. Smooth as you go
Large wrinkles can create pressure points and visible texture beneath clothing. Apply the tape gradually rather than dropping the entire strip onto the skin at once.
5. Build only inside the garment boundary
A beautiful tape application is not useful if the outer strip shows through the neckline or side opening. Recheck the dress after the first few pieces before adding more.

Boob tape for a deep-V dress with a large bust
A deep plunge removes the central area where many bras use a gore or front closure. Tape therefore needs to support each side without crossing into the visible V.
Put the dress on first
Identify exactly how wide and deep the V is. A narrow plunge gives you more outer-chest tape area; a very wide plunge reduces it.
Work one side at a time
Position one breast, then add strips in a direction that remains behind the covered shoulder or upper chest.
Start with lower support
A lower strip can help stabilize the breast before the upward strips are applied. The exact placement depends on the garment and product instructions.
Build upward coverage
Add multiple strips rather than relying on a single high-tension strip. Keep the inner strip edge well away from the visible plunge line.
Recheck the V after every few strips
Put the dress front back into position. It is much easier to change the application before the entire chest has been taped.
Turn three-quarters
A strip hidden from the front can still show near an armhole or low side seam. Always inspect the outfit from both sides.
Boob tape for strapless and bandeau outfits
A strapless neckline removes the shoulder area that makes vertical taping straightforward. The support pattern therefore needs to stay below the garment’s top edge.
Mark the top edge mentally
Know exactly where the dress neckline sits before starting. Tape that rises beyond that line cannot be hidden simply by pulling the dress higher afterward.
Support from below
Use the tape product’s approved method to create a stable lower foundation before adding lateral or diagonal positioning strips.
Use broader coverage
Several pieces working together are generally more adaptable for a fuller bust than one narrow strip wrapped very tightly around the chest.
Avoid restricting breathing
Do not treat breast tape like a compression bandage around the entire ribcage. The goal is breast positioning for the garment, not circumferential chest compression.
Let a structured dress help
If the strapless dress contains boning, cups or a stable bodice, the tape may only need to refine positioning rather than provide the entire foundation.
Sit before committing
A strapless configuration can feel different when seated because the ribcage, waist and dress bodice change position. Test the complete outfit.
One-shoulder, halter and asymmetric taping
One-shoulder dress
The covered shoulder may provide a useful area for upward tape placement, while the bare shoulder side needs a lower or more central support route.
The two sides do not need identical strip patterns if the garment itself is asymmetric. They do need to create a visual result you are comfortable with beneath the dress.
Halter neckline
A halter often covers some upper-center or neck-adjacent fabric while exposing the shoulders. Plan the tape so anchors remain beneath the actual halter panels rather than assuming a standard vertical pattern.
Asymmetric plunge
If one neckline edge is dramatically lower, the lower side may need more outward support while the covered side can use more vertical placement.
Check neck comfort separately
Tape positioning and garment halter tension are separate fit issues. Do not tighten a halter neck strap excessively just because the taped bust changes the neckline shape.
Using boob tape under a backless dress
Boob tape is especially useful when a dress exposes so much of the back that no ordinary bra band can remain hidden. The tape can remain on the front and side of the torso while the dress back stays open.
Check side exposure
Many backless dresses also cut inward at the sides. That side opening often determines tape placement more than the center back itself.
Use covered shoulder fabric when available
A backless dress with substantial shoulders can provide more hidden upper-chest area than a thin-strapped open-back dress.
Deep back + deep front
When both front and back are very open, available tape area becomes limited. At that point, dress-integrated cups, boning or professional alterations may be more predictable.
Do not tape farther around the back just to create an anchor
If tape becomes visible beneath the dress, the application is no longer solving the clothing problem. Reassess the support direction instead.
Use a hybrid when appropriate
A structured dress can provide the lower support while selective tape manages breast position or a neckline edge.
For alternative solutions, compare Best Backless Bra Solutions for a Large Bust .
Movement and event testing
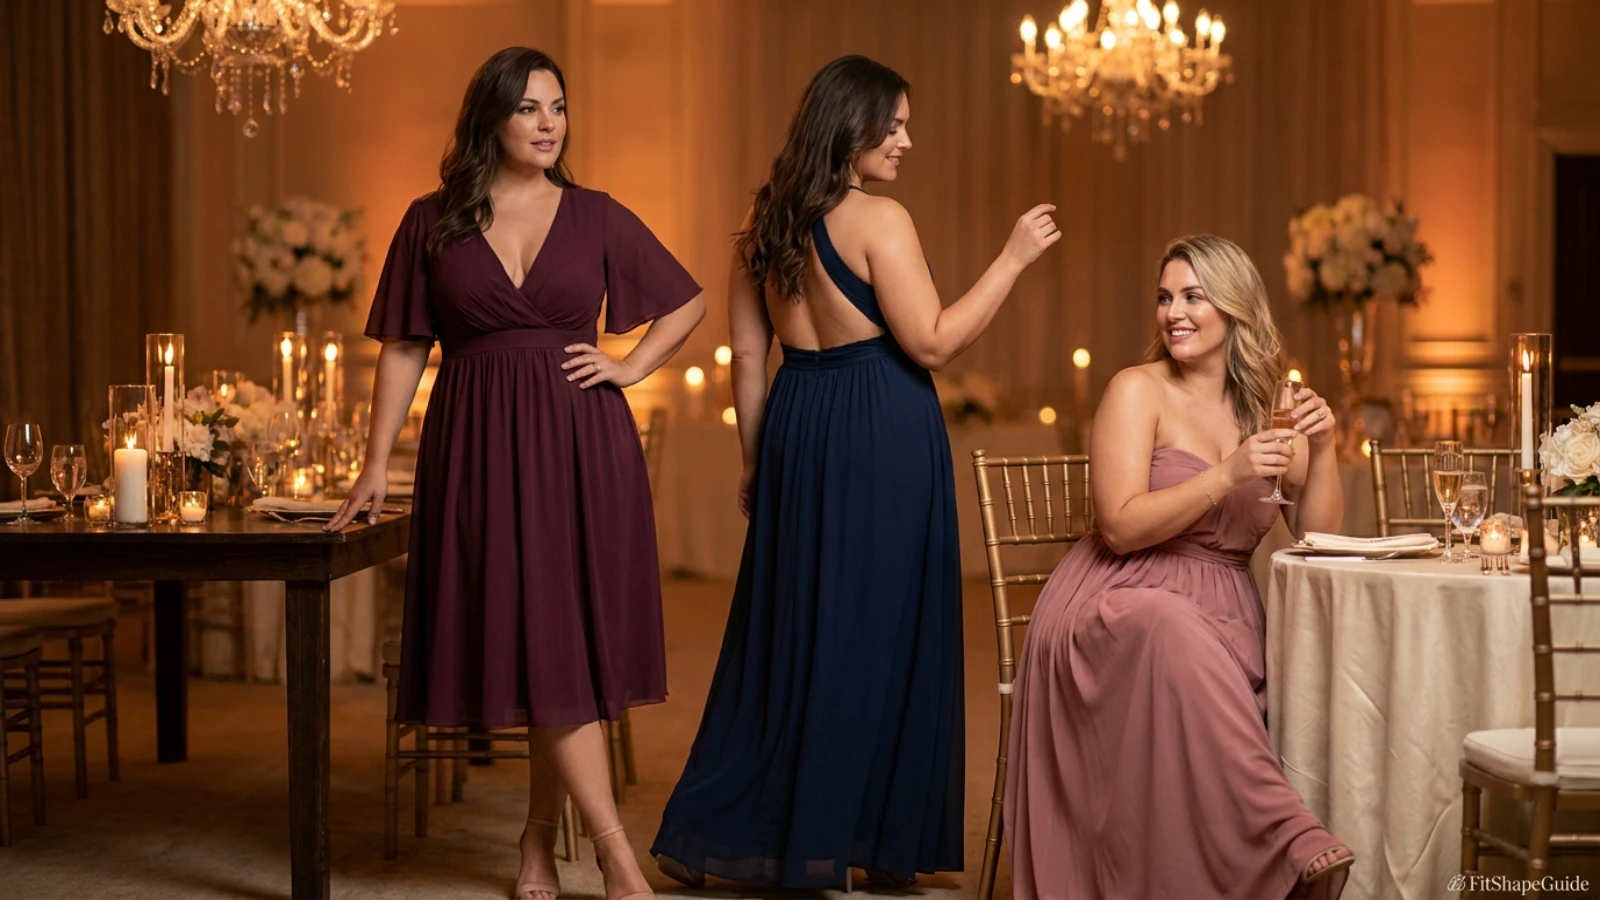
Raise the arms
Raise both arms normally. Watch the taped breast position and the dress neckline. A useful application should remain reasonably stable without the tape edge becoming visible.
Lean forward
Test the neckline as though talking across a dinner table. This is especially important with deep V and wrap-style garments.
Sit for ten minutes
Skin and garment position change when seated. Make sure lower strips do not create uncomfortable folding or concentrated tension.
Turn the shoulders
Move as though greeting someone or dancing. Shoulder movement can expose the upper end of tape beneath narrow straps or asymmetric necklines.
Test the actual venue conditions
If the event is expected to be warm, remember that perspiration and prolonged wear may affect comfort and adhesion differently from a cool fitting room. Stay within the exact product’s wear guidance.
Take a phone-flash photograph
Some tape edges or layered sections may become more visible beneath thin satin, jersey or pale fabric under direct flash.
Do not keep adding tape indefinitely
If the application becomes increasingly complex without creating a stable result, reconsider the foundation. A low-back bra, structured bodice or professional alteration may suit the garment better.
How to remove boob tape more carefully
Do not treat removal as an afterthought. Adhesive that stayed firmly attached for an event should not simply be ripped from the skin.
Follow the tape maker’s removal method
Some products specify a particular oil, remover or other process. Follow the instructions supplied with the exact tape rather than assuming every adhesive should be removed the same way.
Take your time
Remove the tape gradually rather than pulling an entire strip away in one fast movement.
Support the nearby skin
A controlled removal technique can reduce the amount of skin being pulled upward with the adhesive. Follow the manufacturer’s exact method.
Do not “power through” significant pain
If removal is unusually painful or the skin appears to be lifting, stop and refer back to the product’s removal directions.
Check the skin afterward
Mild temporary impressions can differ from significant redness, blistering or skin damage. If a concerning skin reaction develops, discontinue adhesive use and seek appropriate medical advice if needed.
Give irritated skin time to recover
Do not repeatedly re-tape an area that is still visibly irritated from a previous application.
How to choose boob tape for a large bust
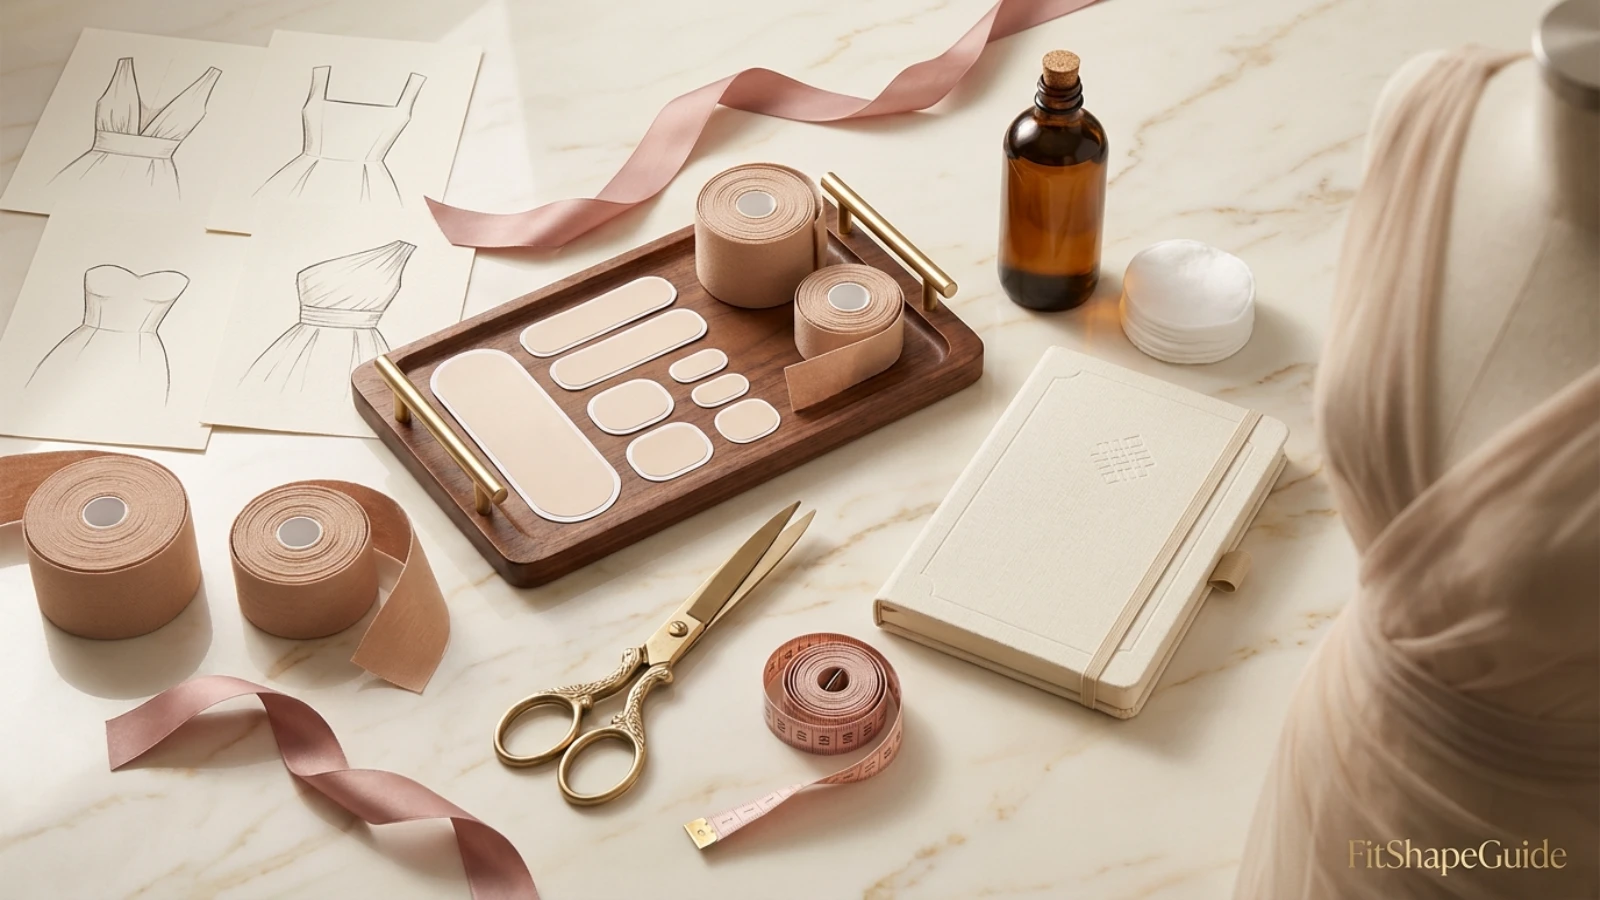
Commercial breast tape varies in width, stretch, adhesive, backing, shade options and manufacturer instructions. Do not assume every roll advertised as “strong” or “for all cup sizes” behaves identically.
- Confirm intended use: choose a product specifically sold for skin/body or breast-support application.
- Read the patch-test instructions: know the required test period before event day.
- Check the width: a broader strip can cover more surface area, but exact preference depends on application and product.
- Review stretch instructions: do not assume maximum stretch is the intended technique.
- Check protective accessories: verify whether nipple covers are included or need to be purchased separately.
- Read the maximum wear guidance: this varies between products and should be verified directly.
- Check removal instructions: know what remover or technique is recommended before you apply the tape.
- Review material claims: latex-free, hypoallergenic, waterproof or sensitive-skin claims should only be repeated after verification.
- Check shade availability: choose according to what may show beneath or through the garment rather than expecting one “nude” shade to fit everyone.
- Review return rules: opened adhesive products may have special hygiene restrictions.
Do not buy only by cup-size marketing
A tape roll does not contain conventional bra cups. Fuller-bust performance depends on the available tape surface, application, garment and wearer—not simply a statement that the product works “up to” a particular cup letter.
Buy enough for a practice application
Your first attempt should not happen immediately before leaving for the event. Allow enough tape for one complete practice with the actual garment.
Keep nipple covers with the tape
Storing the tape and protective covers together reduces the chance of discovering a missing piece of the system when dressing for an event.
Keep the removal supplies ready
If the manufacturer’s instructions call for a specific removal product, have it available before application rather than trying to improvise late at night.
Consider whether another foundation is simpler
For a strapless outfit with a fully covered back, Best Strapless Bras for a Large Bust may provide a more conventional support frame.
For open-back garments, compare the full range of options in Best Backless Bra Solutions for a Large Bust .
Common boob tape problems with a large bust
| Problem | Likely cause | Better response | Avoid |
|---|---|---|---|
| Tape edge shows in neckline | Application exceeds garment boundary | Re-plan strip direction | Pulling garment higher unnaturally |
| One strip feels painfully tight | Too much concentrated tension | Reapply according to instructions using distributed support | Adding even more stretch |
| Ends begin lifting | Anchor/application or skin-prep issue | Review manufacturer’s prep and anchor guidance | Random household adhesive |
| Skin looks pinched | Wrinkled application or excessive tension | Remove safely and reapply more smoothly if skin is suitable | Ignoring discomfort |
| Tape shows at side of backless dress | Side opening is lower than planned | More front-based application | Checking center back only |
| Deep V becomes uneven | Different positioning/tension between sides | Retest one side at a time | Trying to force perfect anatomical symmetry |
| Tape shape looks good but dress neckline moves | Garment itself lacks stability | Alter or structure dress | Adding tape indefinitely |
| Tape hurts during removal | Adhesive bond/removal method issue | Follow specific remover and slow-removal instructions | Ripping strip away quickly |
| Redness or blistering develops | Skin reaction or mechanical irritation | Discontinue use and care for skin appropriately | Retaping irritated area |
| Application works standing but fails moving | Movement not considered in strip plan | Practice with full dress movement | Testing only in mirror pose |
I need more lift
Do not automatically increase strip tension. Reconsider breast positioning, available tape area, number of strips and how much support the garment itself can provide.
The tape is visible under satin
Layering and overlap can create surface texture. A structured lining, thicker fabric or different foundation may produce a cleaner result than adding more tape.
I cannot keep the tape hidden
The garment may leave too little covered chest area for that particular application. Compare a low-back bra, sewn-in cups or professional bodice alteration instead.
My skin reacted during the patch test
Do not proceed simply because the event outfit needs invisible support. Use a non-adhesive foundation or a dress-integrated solution.
Final verdict
The most useful boob tape technique for a large bust is not the strongest-looking social-media wrap. It is an application planned around the actual neckline, using appropriate skin-intended tape, protected sensitive areas, controlled strip tension and enough surface coverage to support the desired position.
Practice before the event, test the finished outfit seated and moving, and treat removal as part of the process. If the application requires extreme tension, irritates the skin or still cannot remain hidden, switch foundations rather than forcing the tape to solve a garment it is poorly suited to.
Frequently asked questions
Does boob tape work for a large bust?
It can provide positioning and support for some fuller-bust wearers, but results depend on the tape, garment, breast shape, available skin area and application technique. It does not use the same band-and-cup frame as a conventional bra.
How much boob tape do I need for a large bust?
There is no universal number of strips. Fuller-bust applications may use several pieces to distribute support, but the exact amount depends on tape width, neckline, garment and manufacturer directions.
Should boob tape be stretched as tightly as possible?
No. More tension is not automatically more support and can concentrate stress on the skin. Follow the specific product’s application guidance and use controlled strip placement.
Do I need nipple covers under boob tape?
Use the nipple-protection method specified by the product manufacturer. Many breast-tape instructions recommend protective nipple covers before support tape is applied.
Can I use boob tape with a backless dress?
Yes, one major advantage is that the tape can remain on the front and sides while leaving the back open. Check low side cutouts carefully because tape may still become visible there.
Can I use boob tape with a deep V neckline?
Yes. Plan the tape around the visible V and support each side without letting strips cross into the plunge opening.
How do I remove boob tape?
Follow the exact manufacturer’s removal instructions and remove it gradually rather than ripping the strips away quickly. Some products specify particular removers or oils.
What if boob tape irritates my skin?
Discontinue use if significant irritation occurs. Do not apply adhesive to already irritated or injured skin, and do not retape an area that has not recovered.
Editorial and safety standards
This guide evaluates purpose-made breast-support tape through garment compatibility, tape direction, usable surface area, strip layering, anchors, skin preparation, nipple protection, movement, adhesive exposure and removal.
Tape is presented as one foundation option—not as a universally superior alternative to bras or structured garments. A large bust does not require extreme tape tension, compression or a specific lifted appearance.
Manufacturer guidance commonly emphasizes patch testing, clean and dry skin, avoiding irritated skin, protecting sensitive nipple tissue, limiting unnecessary tape stretch and careful removal. Because instructions differ by product, FitShapeGuide does not publish one universal patch-test duration or maximum wear time.
Adhesive-related skin injury is a recognized phenomenon in clinical adhesive use. Although breast tape is a fashion product rather than a wound dressing, the underlying reason for caution remains relevant: adhesive application, tension and removal can mechanically irritate or injure skin.
Before publishing any commercial recommendation, FitShapeGuide should verify the exact live seller, product, intended use, material, adhesive type, tape width, roll length, stretch instructions, patch-test instructions, nipple-protection guidance, maximum recommended wear time, skin warnings, removal method, included accessories, care, reuse claims where applicable, current availability and return conditions.
No ASIN, ingredient claim, latex claim, hypoallergenic claim, waterproof claim, cup-size claim, price, rating, review count, coupon, stock statement or delivery promise should be published unless directly verified.

One Comment